Wednesday 24 December 2014

Our Little Christmas Miracle

When we started baby girls bedroom 6 months ago, I jokingly said so long as it's ready for Christmas!
Well I have just sat down from doing the final coat of gloss on the skirting boards. We first discussed that we should start to decorate the room for when the baby arrived when I was about 6 months pregnant.

We left it as late as possible in case we got planning permission for our extension, as the final plan will affect which rooms stay in their current format and we didn't want to waste time and money doing work that may have to be altered. As you can imagine, if you've ever tried getting planning in a reasonable timescale through the council, the process is still nowhere near resolved after 12 months and we knew we needed somewhere for the baby to sleep.

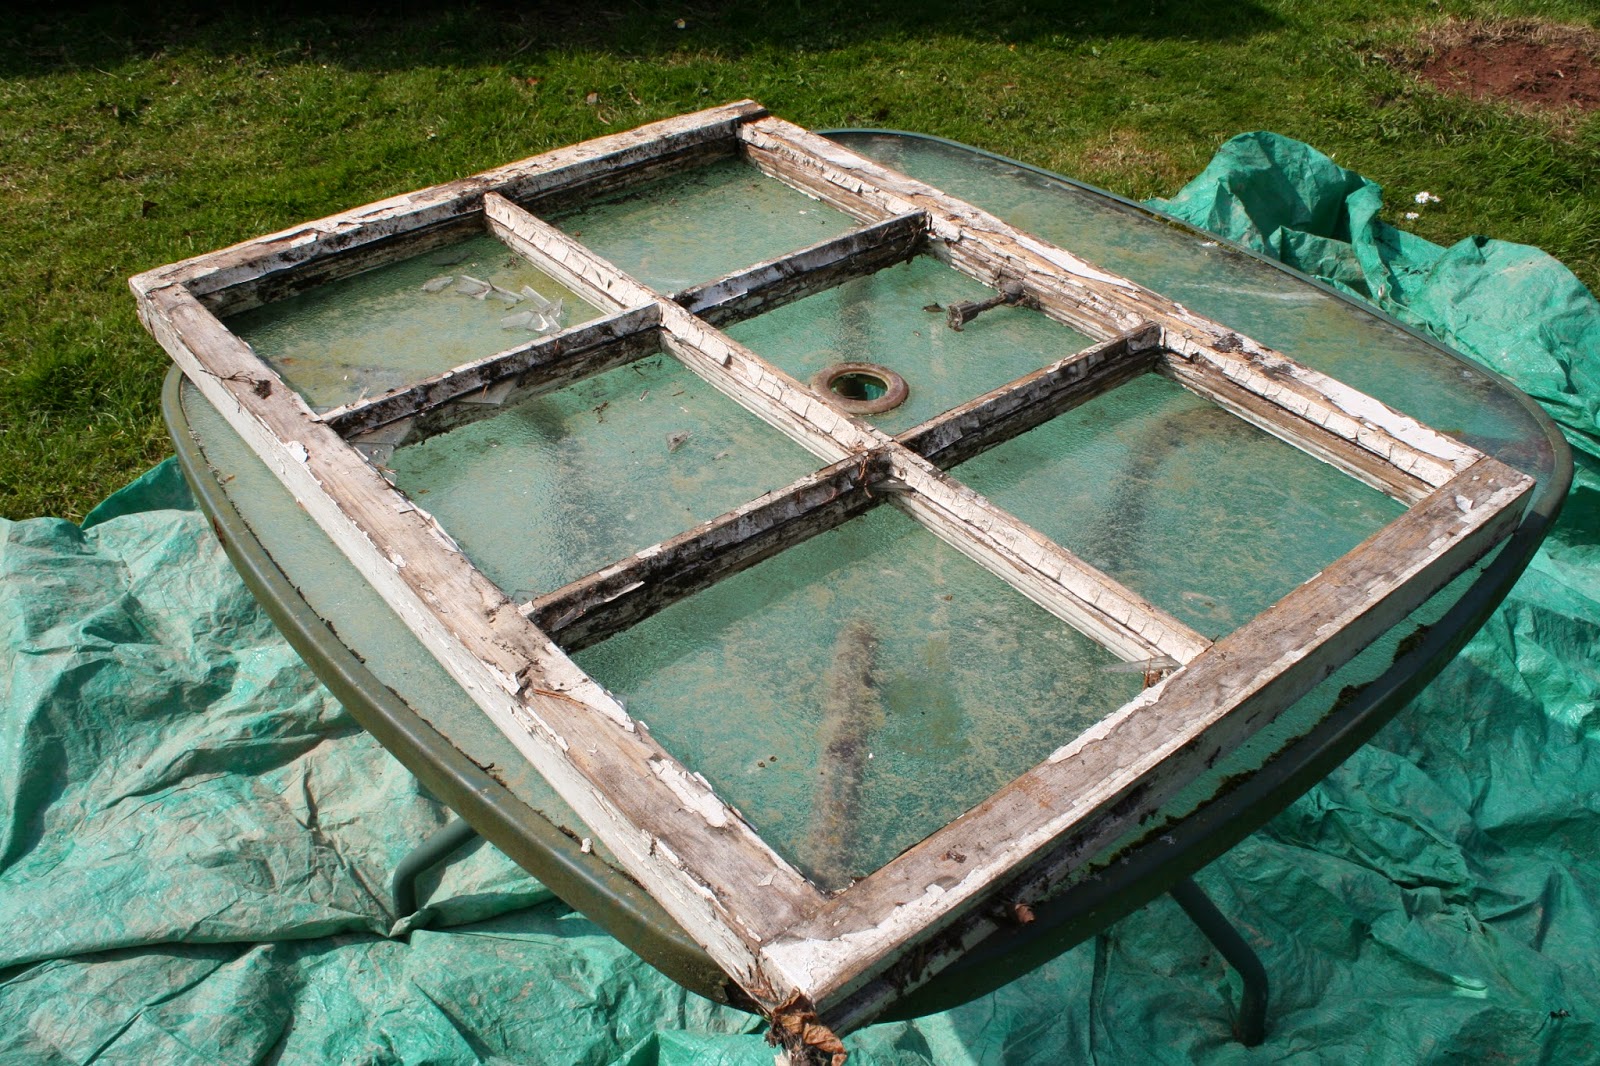
We should have known it was likely to take longer than planned when we pulled off some loose wallpaper and all of the plaster underneath came off with it!

So in six months we:-


  1. Stripped wallpaper
  2. Knocked all of the plaster off
  3. Re-pointed the stone walls underneath
  4. Removed airing cupboard from room
  5. Removed toilet and sink from the corner of bedroom (don't ask)
  6. Sanded the floorboards
  7. Treated the floorboards and joists for woodworm
  8. Varnished the floorboards
  9. Moved the pipework for the radiators and random exhibitionist en suite (no walls just in the bedroom!)
  10. Battened the walls and filled them with insulation
  11. Plaster boarded and then plastered
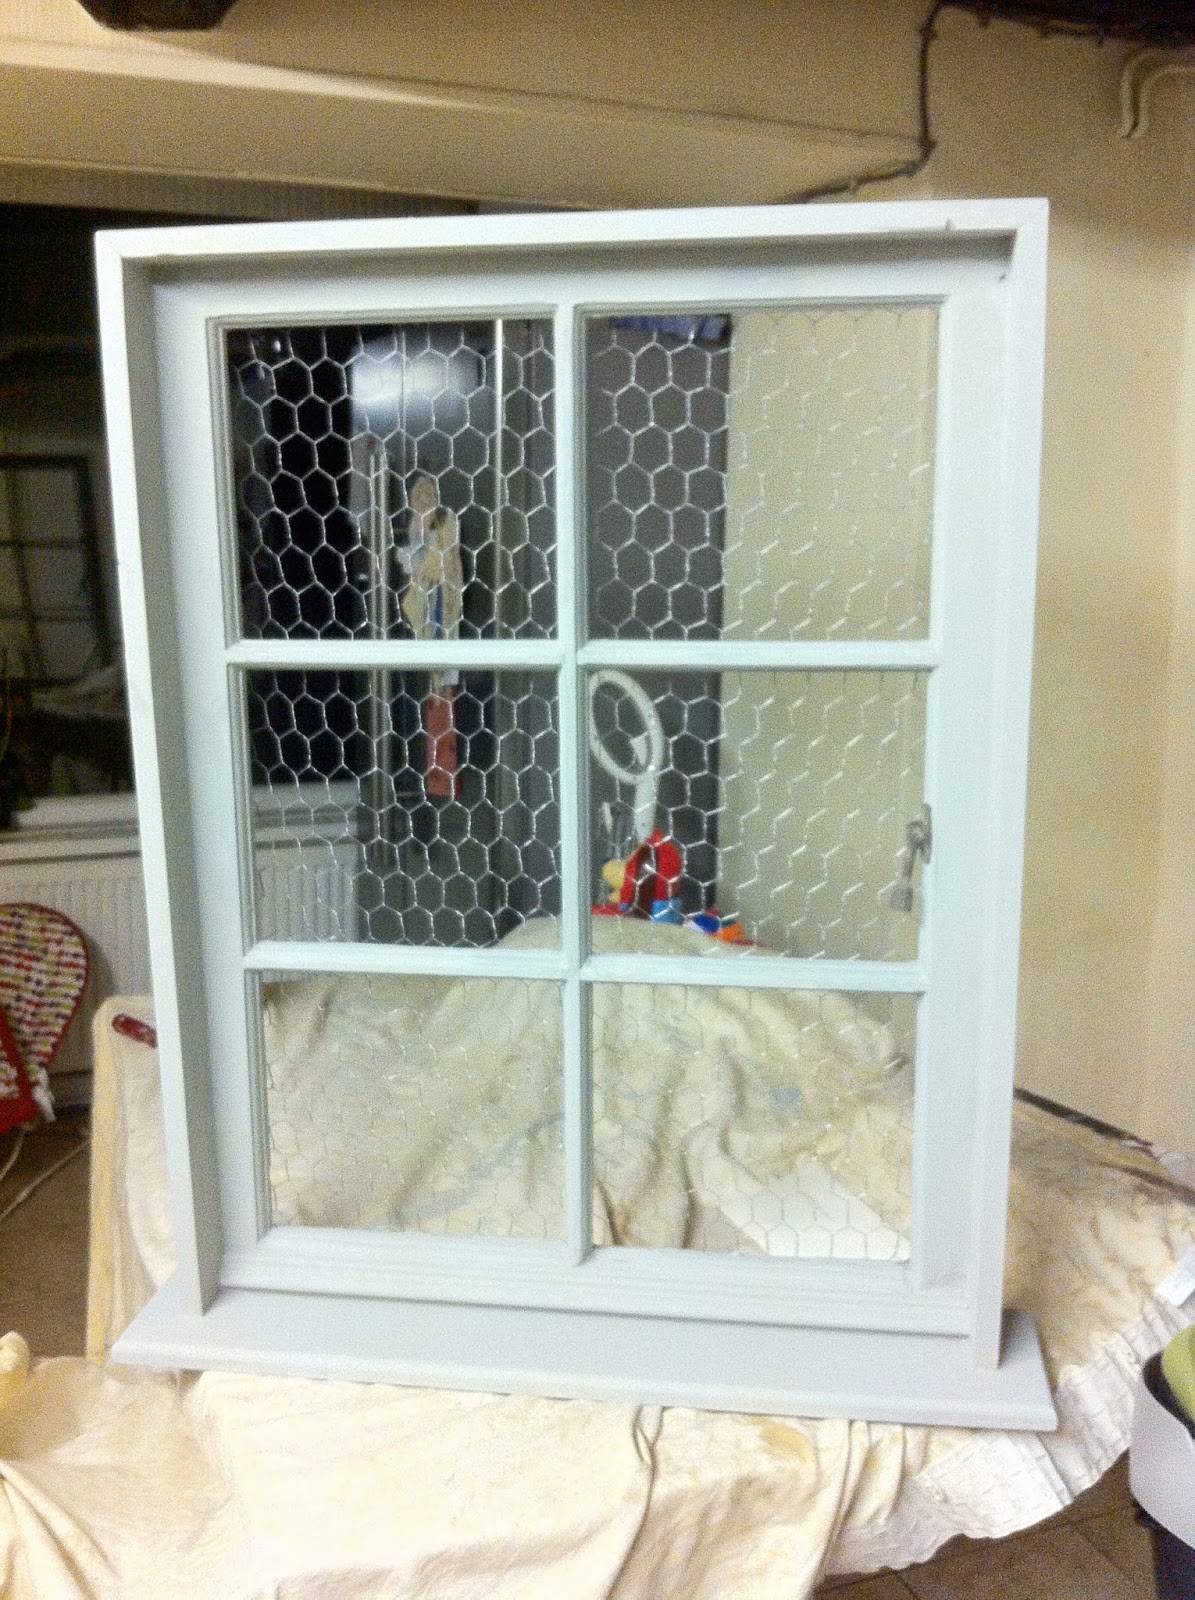
  12. Made and fitted two new windowsills
  13. Fixed lock on window
  14. Fitted a new light
  15. Fitted skirting
  16. Painted and decorated walls, windowsills and skirting.
When I type it all out I can see why it took so long, especially with a young child and newborn baby and all done in evenings and weekends.

We are so lucky to have the skills ourselves and friends with useful knowledge to impart to enable us to have finished the baby's room and here we are on Christmas eve with an (almost) complete bedroom for baby girl. Photos to follow when I can dig some before photos out to go with the done ones.

Happy Christmas x

Friday 19 December 2014

Repurposed window to picture frame tutorial


Three weeks ago I was lucky enough to be a bridesmaid at my best friends wedding. When I asked her what she wanted as a gift I was touched when she said she wanted me to make her an up-cycled sash window picture frame to use as her table planner, just like the one we made for ourselves as a picture frame a few years ago when we were still living in our Victorian semi.


My husband had picked up a few very rotten frames from a neighbour up the road. I had seen the rotten gold so many times when walking past their back garden on my way to the shops. and always thought 'what a waste I could do something with those'. I think they must have thought he was mad when he left a note in their postbox asking if we could remove said junk from their garden; they jumped at the chance (perhaps unsurprisingly, saving a trip to the tip)


After a trawl through pinterest i had formed an idea of what do do with them. So here are the basic steps:

The original window frame
  • We started by removing any glass and hardware and sanding off the little paint that was left. I did try to use the detail sander but it was so fiddly that I mostly just used a medium grade sandpaper by hand.
  • The frame was so old that all of the joints wobbled, so as well as using a healthy dollop of PVA glue and an overnight dry with the frame strapped together, we decided to frame it as though you were looking through a window to the outside world to add stability.
  • We bought some cheap pine boards and cut them to fit the top and both long sides of the window, mitreing the corners using the chop saw. We then glued and nailed the three sides onto the frame to make a surround.
Details of the bottom of the sill and frame
  • The bottom of the frame was created using a wider piece of wood to give it the look of a window sill. It was cut slightly longer than the combined length of the frame plus the surround and we used a router bit to put a nice smooth edge to the sill. This was again glued and nailed onto the bottom of the frame and ta dah, it had taken shape.
  • We had initially taken all of the jagged fragments of glass that were left out of the window. This meant that there was missing putty that had kept each pane in place, so any holes and ugly uneven areas were filled with caulk. We were’t too precious with this as we were intending to give the frame a vintage rather than brand new look, but I guess you could spend as long as you like perfecting the look you’re after. Filler probably would have done as well but I find caulk less likely to crack when in a dry house (if a bit harder to sand later on).
  • It was re-sanded once dry to smooth any uneven caulk and was ready to paint.
The rear of the frame
showing chicken wire fixings
  • On our initial project I undercoated it and then painted two further coats using Annie Sloan’s old white and finally waxed it twice. To be honest by the time I did the second window I was heavily pregnant and two coats of Annie Sloan’s Paris grey was enough. I did wax it but found that the chalk paint became really patchy looking with dark and light looking areas (a problem I’ve had a few times and I’ve no idea how to stop) so I just repainted with another layer of chalk paint. Next was a quick clean of the original window catch and it was reattached.
  • Lastly we cut some chicken wire that was hanging around the garden and screwed it to the reverse of the frame with some washers to give the screws purchase on the wire. This gives a pretty backing on which to attach pictures and what not, but I suppose if the original glass was intact then you could just glue pictures to the glass. The first time round we also screwed on a small piece of wood to keep the wire flat to the rear of the frame (see picture), but I think this was overkill as it looked as good second time round with just screws and washers.


Lastly it was handed over to my friend and the next time I saw it, it was a beautiful table planner! Sorry no photos of it in use yet!


All done painted in Paris Grey


Saturday 13 December 2014

One year on from our new beginning

Welcome to our blog following the restoration of our circa 1850 stone cottage on the beautiful rural border of Herefordshire and Worcestershire.

We are trying to live a little more sustainably, bring up two kids and turn a run down house into family home on a budget. I enjoy all the work we are doing to restore our house to it's former glory, cooking, baking, growing our own and preserving the harvest. We aim to be more self sufficient and live more sustainably. I plan to jot down all of our little steps on the journey to making our family home in the hope that one day our children will see them and remember these times with fond memories. So here's my first ever post and where we started.

We moved into our new house one year ago today! 

When you've moved into a house with a seemingly unending amount of work to be done it can seem a bit (read a lot) daunting. 
I remember the feeling of absolute panic like it was yesterday and the thought 'what have we done?' must have popped into my head a million time since. Still, there's nothing like remembering all the things we've done since this time last year to make the panic subside and pride set in.

Starting at the beginning, we moved from a semi-detached town house to our dream home, a house in the country with a bit of land and lots of peace and quiet. 

We had a few problems at the beginning, I have never spent a winter so cold, and I mean really cold! 
The previous tenants had drained the oil tank (literally up on bricks at one end) and due to nationwide flooding we couldn't get a delivery for over a month. Never mind, I thought somewhat naively, we'll use the wood burner. In comes the chimney sweep to admire said burner and instantly condemn it with the phrase 'You wouldn't want to die of carbon monoxide poisoning would you?'. 
When the oil was eventually delivered we burned £600 in 6 weeks (note previous mention of panic and 'what have we done?'). 
How you may ask? Well, as it turned out it hadn't been serviced 6 months ago (somewhat delusional claim from the vendors) and the previous tenant had been burning anything he could find, old cooking oil included and messing with the pump ratio. After the best £60 ever spent on a service we could use our central heating (sparingly) without taking out a loan for the oil costs.

It's only got better from there and in 12 months we have done some pretty amazing things, including:-

  • Having a baby girl (I’m pretty proud of this)
  • Fitting a new wood burner
  • Massive amount of gardening
  • Pointing the side wall of the house
  • Decorating our son’s room
  • Treating the house for woodworm
  • Fixed about a hundred leaky pipes
  • Fitting a new driveway gate
  • Almost finished internally insulating, re-plastering and decorating the baby’s room
  • Redone the ridge line and flashings on the roof
One of the biggest things we haven’t managed to do is secure planning permission for an extension to move our bathroom upstairs, but that’s a saga in itself and I’m sure I can fill a whole series of posts on this subject.

We aim to show how we’re getting along and post how we’ve done some of our projects to help out anyone else in the same boat as us. Ideas and suggestions are always appreciated!